Using LandTracker Maps
Overview
LandTracker Maps is a free product from LandTrack Systems, providing up-to-date maps and information about mining tenements in all Australian states. Live and Pending tenement data is updated from the relevant states' mines departments on a nightly basis. Dead tenement data is updated weekly and remains in the system for 5 days.Please note that internet access is required to use this service.
Accessing LandTracker Maps
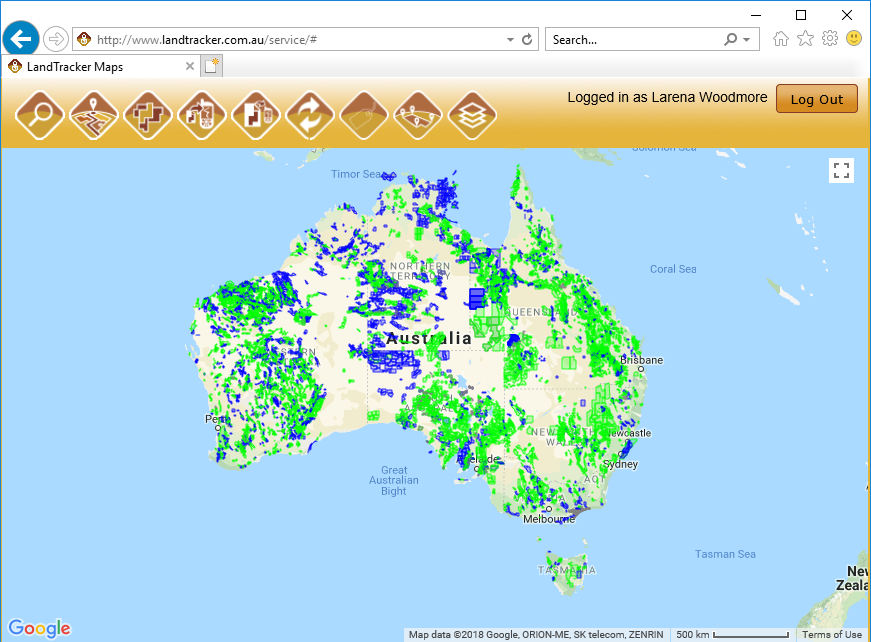
- LandTracker Maps is accessed via a web browser on a mobile device, from http://www.landtracker.com.au.
- Log in by clicking the
button at the top right, and then enter your email address and password.
Obtaining a logon
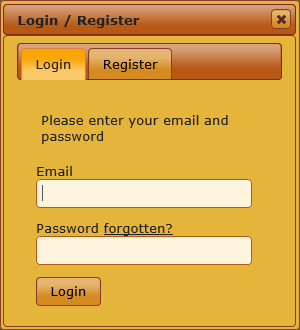
To create a logon for LandTracker Maps:- Click the
button at the top right.
- Select the
tab and enter your email address, your choice of password and accept the Conditions of Use.
- Click the button.
- If you see a FAIL: Invalid Password message, this means your email address has already been registered for LandTracker Maps. Click the tab and reset your password.
Resetting your password
- If you forget your LandTracker Maps password, you can reset it by clicking the forgotten
link on the Login screen.
- When prompted, enter your email address. You will then receive an email with a link to reset your password.
Using LandTracker Maps
Navigation
- Zoom in and out using the scroll wheel on your mouse, or using pinch gestures on a touchscreen device. The scale is shown at the bottom of the map.
- Move the map by clicking and dragging with a mouse or using a touchscreen device.
- Enter Full screen mode by clicking the button at the top right of the map, and exit by clicking
 or pressing Esc on your keyboard.
Searching
- Click the Search button in the toolbar at the top of the screen to locate a tenement or area.

Search by tenement ID
- To locate one or more tenements by ID, use the Find by ID tab.
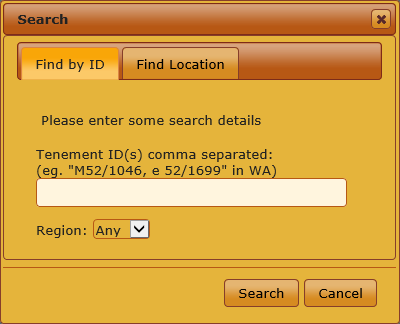
- IDs can be entered with or without spaces, and you can enter more than one ID separated by commas.
- Select the Region (state), and then click the
button.
- The map will zoom to the tenement(s) you selected.
Search by location
- To locate one or more tenements by location, use the Find Location tab.
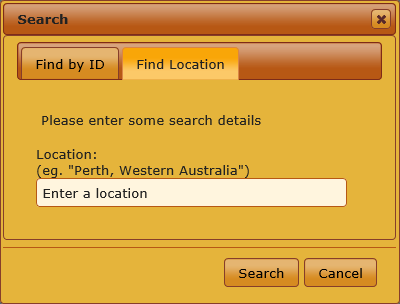
- Enter an address or location and then click
. Note that you can search for any Australian address, although the address suggestion may not appear.
- The map will zoom to the location you entered.
Understanding the map
Tenement information
- When you hover your mouse over a tenement in the map, click it or select it on a touchscreen device, its details are shown at the bottom of the screen.

Colour coding
- Colour coding is used to indicate a number of attributes of the tenements on the map.
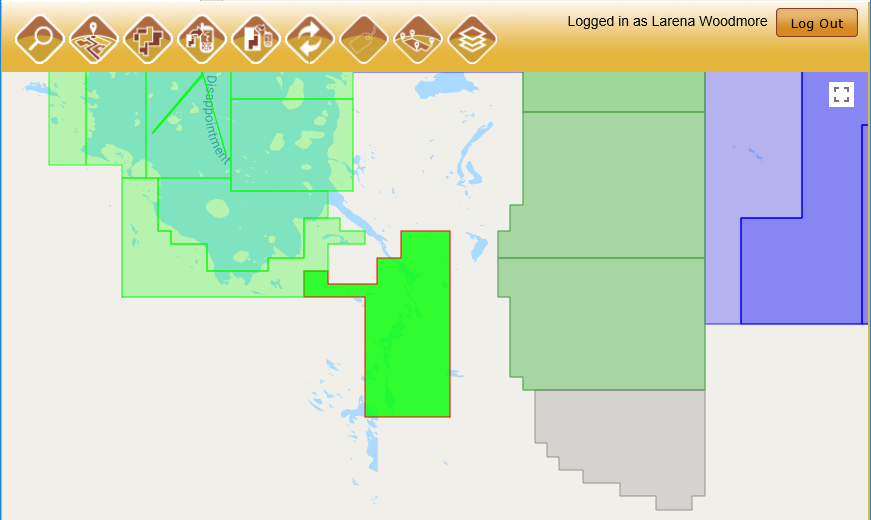 Tenement information is shown at the bottom.
 - Tenement(s) you have selected are solid colours and have a red border.
- Live tenements are green.
- Pending tenements are blue.
- Dead tenements are grey, and remain on the map for five days.
Note that the data obtained from mines departments outside WA does not include dead tenements. Therefore, when a previously available tenement is no longer in the data, it is assumed to have died and will have a status of Dead (was Live) or Dead (was Pending). - Where there are overlapping tenements, they are shown on top of each other. In the above picture, the darker blue near at the top right is two Pending tenements and the grey-green in the middle shows Live tenements in the same space as Dead ones. Right-click a tenement to hide it and expose the one underneath it to see its details.
Choosing what to show
HidingSatellite or Map view
- To toggle between the Google Maps Satellite and Map views. click the second button on the toolbar.
- Currently showing Map view.

- Currently showing Satellite view.

Show or hide surrounding tenements
- To toggle between displaying or hiding the tenements surrounding the selected tenement(s), click the third button on the toolbar.
- Currently showing surrounding tenements.

- Currently hiding surrounding tenements.

Hide individual tenements
- To temporarily remove a tenement from the map, for example, to show underlying tenement(s), right-click with your mouse.
- To reset the view and show all hidden tenements, click the Refresh button.

- Hiding tenements is not possible on a touch device.
View tenement IDs
- Toggle tenement labels on and off using the seventh button on the toolbar.
Controls
There are some controls available in the Map tab:- Surrounding Tenements
By default the Map tab only displays the tenements that are selected in the DataGrid. Clicking the Surrounding toggle button will show / hide other tenements within the map view, but keep the selected tenements highlighted.
- Satellite Overlay
The Satellite Overlay toggle button wil change the background layer to a satellite map (as in Google Maps).
- Toggle Labels
This button will toggle labels displaying the tenement ID for each tenement polygon in the view.
Note: Tenement labels may not be displayed at certain zoom levels. There needs to be appropriate space on the map for the label to be displayed. If the label is not being shown try zooming in on the map.
- Toggle Layers
This button toggles a layer control, allowing you to turn on/off a range of additional layers, and adjust their opacity.
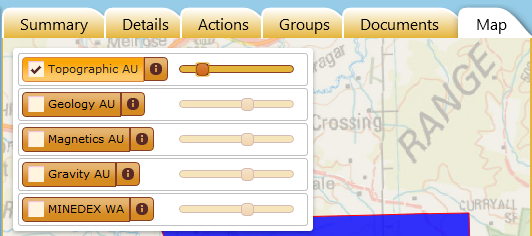 Layer Control
Building a Tenement Map
To build a custom map of selected tenements:- Turn surrounding tenements ON using the Surrounding toggle button.
- Select any number of tenements on the map by left-clicking them with the mouse.
- Turn surrounding tenements OFF by clicking the Surrounding toggle button again.
You will be left with a map displaying only the tenements you have selected. Try turning the satellite overlay and labels ON, and you have a very useful map view of tenements, which could graphically highlight a Project.
Viewing All Tenements in a Project, Combined Reporting Group or Other Group
To see a map of all tenements in a group, select View Groups from the Dashboard under the Groups section, select the group from the datagrid and then select its Map tab.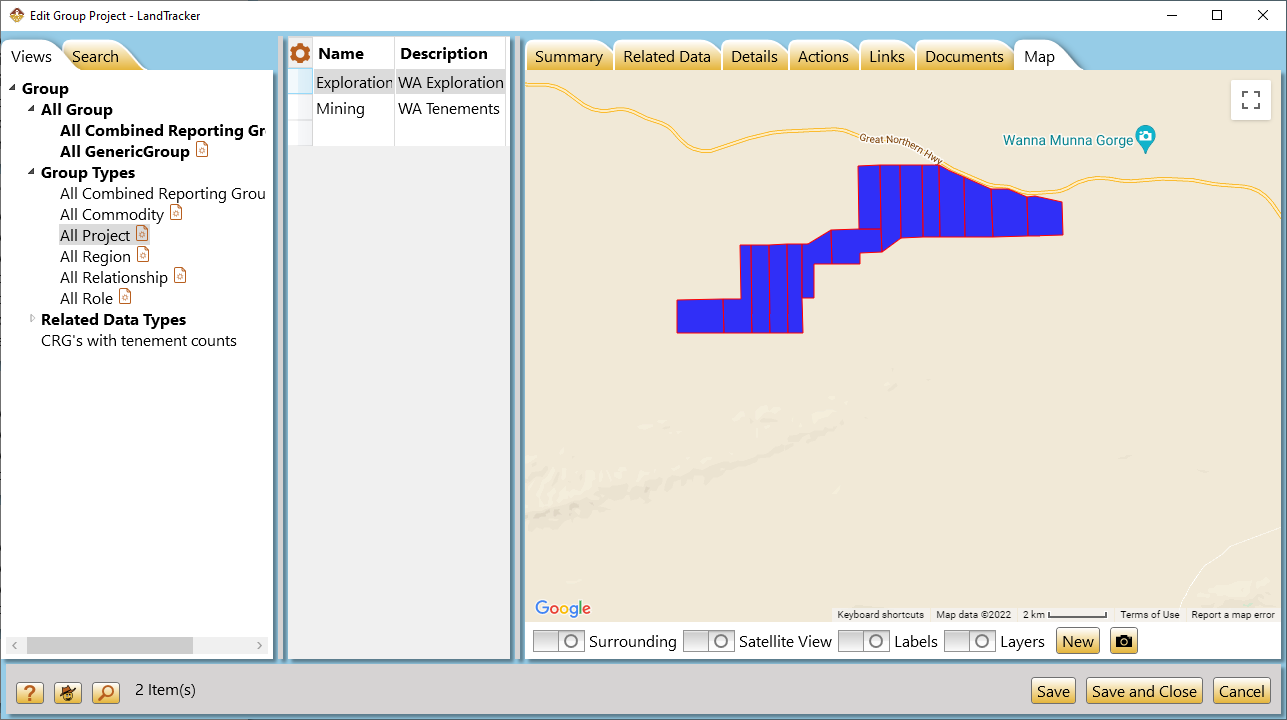
Maps tab on Agreements
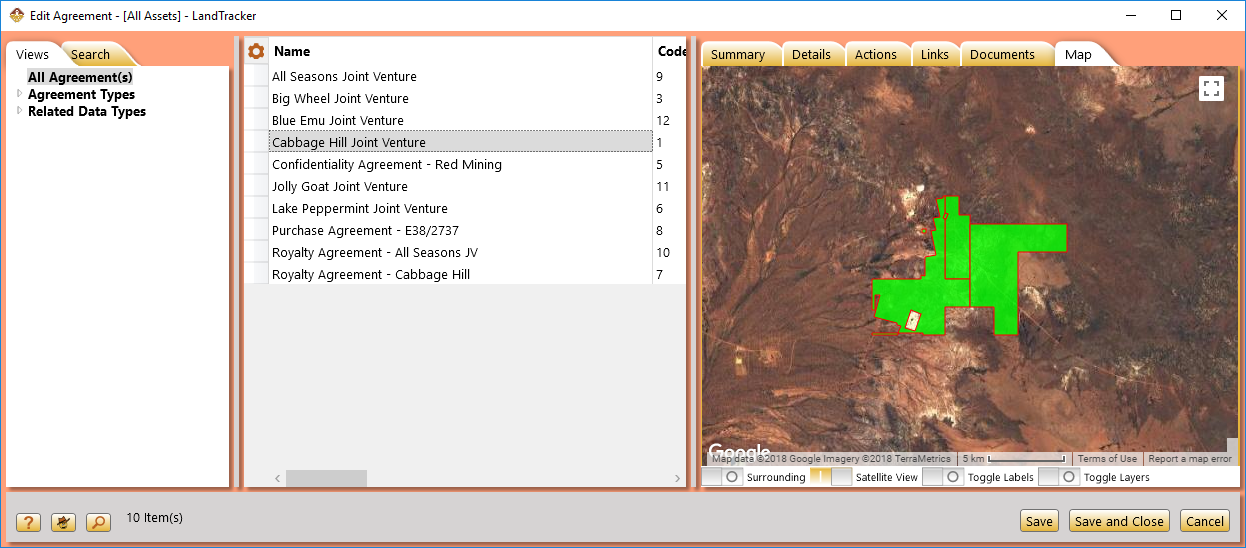
The Maps tab on an Agreement shows the Agreement's Related Tenements that have been imported to LandTracker.
